A WMV recording may work in one Windows app but not in the app you want to use next. An MP4 output gives you another option for playback and editing.
Convert WMV in Three Steps
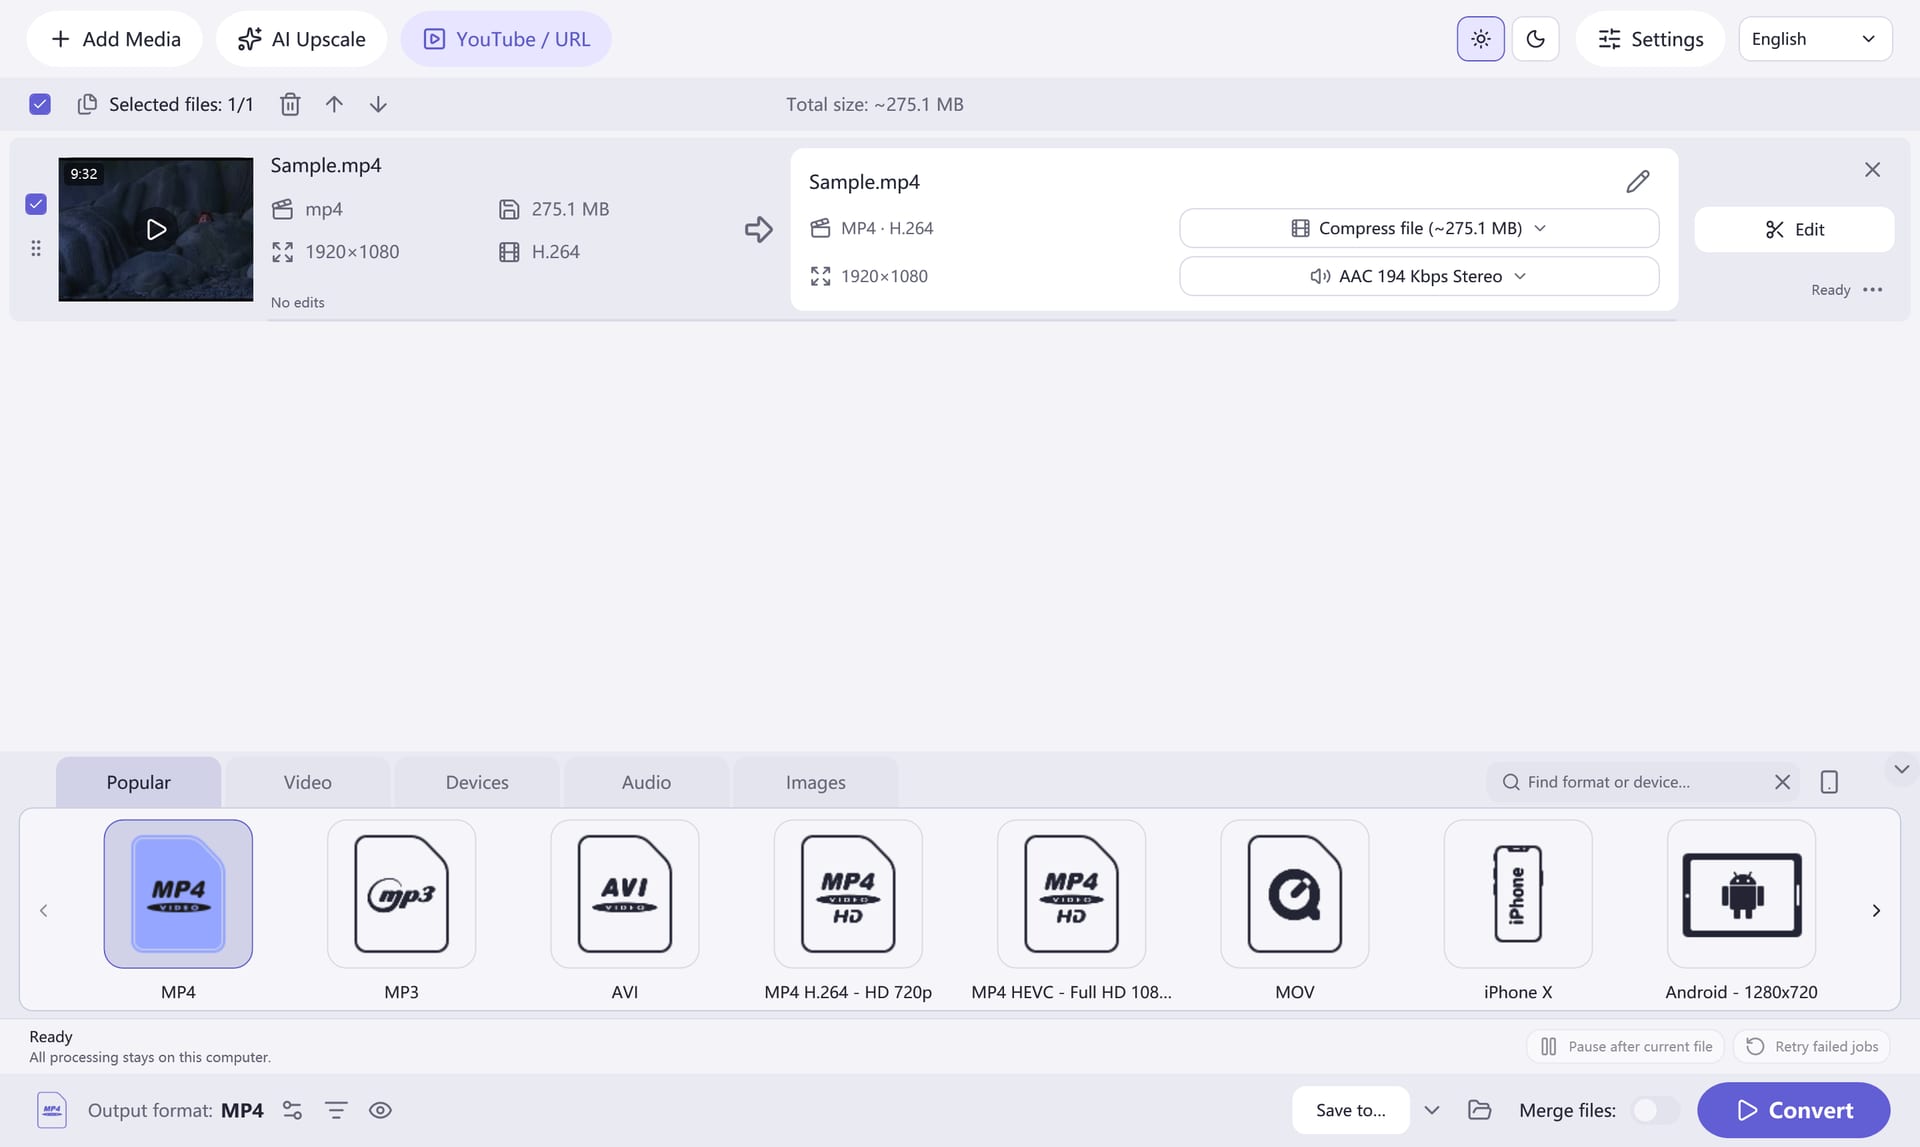
- Add your WMV file. Open the Windows app and add the source video. You can queue several files if you need to prepare a group.
- Choose MP4. Pick an MP4 preset, using H.264 video and AAC audio for a broad compatibility starting point. Select an output folder you can find easily.
- Choose Convert. Let processing finish, then play the output in your intended player or import it into your editing app.
Check Before Converting a Whole Folder
A protected or damaged WMV file may not be convertible. The app does not remove media protection. Keep an unmodified original and check the converted audio and picture before archiving your result.
Convert one short file first when you are choosing settings for a new device or workflow. Compare picture, sound, duration and file size with what you expected. If you need a smaller output, resolution and bitrate are useful controls, but lower values can reduce visual quality.
Keep Your Original
A converted copy is useful for sharing or playback, while the source remains valuable for future edits. Save them in clearly named folders and check the result before deleting anything.
Read the complete video conversion guide for a closer look at output settings, folders and playback checks. To remove unwanted footage, trim your clip before exporting.